
Phalaenopsis Orchid Plant Profile
Phalaenopsis “Moth Orchid”

Many people see orchids as a beautiful flower, they enjoy the blooms, add ice cubes, and when the flowers wilt they throw them away. If this is you, please wait! While it may take some effort, growing the orchid plant itself is very rewarding. Getting them to rebloom over and over again is worth the effort!
Understanding orchids can be a little intimidating. They don’t have the same needs as most tropical houseplants. I’ve made plenty of mistakes, and learned from them!
The biggest key will be in how you’re caring for their macro & micro nutrient needs. (See section on fertilizing)
Let’s look at how to care for the Phalaenopsis or “Moth Orchid”:
Sunshine Requirements
Ideal Humidity
Substrate Type
Watering Frequency
Fertilizer Requirements *Please Read
Propagation
Sunshine Requirements
Phalaenopsis Orchids are from Southeast Asia. They grow mainly in an arboreal habitat meaning they grow on trees! That’s pretty cool if you think about it. Imagine those flowers coming up from an orchid resting on a tree branch! But it also means that they are accustomed to growing under a shaded canopy of filtered sunlight. Bright, indirect light is where they feel at home! The sunniest window in most homes is the perfect spot. A spot outside should receive full shade with no direct sun.
Ideal Humidity
Oh yeah, aerial roots! If you see silvery roots popping up from the soil, let them thrive! This is how the orchid collects moisture from the air, and it’s a good thing.
If you’re growing orchids indoors you need a humidity tray. No question about it, it makes a difference. Over the last 3 years I’ve done a comparison between a plant grown over a humidity try vs a plant with the same care in a basic cover pot and guess what? The orchid in the humidity tray had 3 new leaves, grew a bloom spike, and was showing root growth. Whereas the other orchid was perky, keeping its original leaves, and had some new root growth but no new upper growth.
If you want to learn how to set up an orchid with a humidity tray, check out this article: Humidity Tray Benefits
Substrate Type
Some people use bark, some people use sphagnum moss (especially in commercial setups). I prefer a little bit of both.
This is the Orchid Substrate I use: Better-Gro Phalaenopsis Mix - Premium Grade Phalaenopsis Potting Mix for Potting, Repotting, Enhanced Drainage, Air Flow & Root Ventilation - 8 Dry Quarts
I like that it also includes perlite for drainage & charcoal for antimicrobial support.
And here’s a good Sphagnum moss: Better-Gro Premium Grade Orchid Moss - 100% Natural, Imported Sphagnum Moss
As an Amazon Associate, I earn from qualifying purchases, at no additional cost to you. I only share plant care products that I have personally used.
Bark tends to dry out quickly, helping with airflow and allowing the roots more protection against fungal development. Orchids are accustomed to growing their roots into little spaces between the grooves of tree bark, so it’s a great way to recreate their natural habitat.
Sphagnum moss tends to absorb and hold a lot of water, like a sponge, helping to keep the plant moist. Young orchids thrive in this substrate because they’re more sensitive to drying out.
Watering Frequency
Orchids do not like to dry out. So the best way to keep up with their watering needs is to look at the lower roots and see if they’re green and damp, or if they’ve gone back to a silvery color. Keeping your plant in a clear nursery pot helps with this.
Bottom watering is a great method to allow your orchid to soak up as much water as it wants, while eliminating the danger of getting water on the crown.
If your orchid is potted in sphagnum moss, feel about an inch down to see if the moss is still damp before adding more water. This substrate retains moisture much longer than bark, and can easily lead to root rot if not checked frequently.
Orchids are very sensitive to fungal growth and benefit from regular treatments of Hydrogen Peroxide or fungicide to maintain root health.
How does the Hydrogen Peroxide Help?
Hydrogen peroxide (H202) serves as a disinfectant. H202 is basically water (H2O) with one extra oxygen atom. When it comes into contact with bacteria, it releases the extra oxygen molecule. After the process of oxidation (which can complete itself within 30 minutes to an hour, depending on the concentration), it turns back into water and no longer affects your plant.
Simply add 1/2cup of Hydrogen Peroxide and 1/2cup of water to your watering can & water your orchids from the top, not getting any on the crown of the plant. This helps kill off any fungal spores in the upper roots as well as the substrate.
One of the best things you can do though, is keep your plant from sitting in standing water for prolonged periods of time. When watering, allow the excess to drain off before returning your plant to its spot.
Fertilizer Requirements
Fertilizing your orchids is probably the most important change you could make to help your babies bounce back. An incredible orchid expert who’s been keeping a thriving orchid collection for over 40 years shared her secrets with me, and one of them is that she uses this exact nutrient blend: Better Gro Orchid Plus Bloom Booster Fertilizer, 16-Ounce
As an Amazon Associate, I earn from qualifying purchases, at no additional cost to you. I only share plant care products that I have personally used.
So I started using her method and over the following two months I had happier orchid babies, new growth, and even one rebloom. Here’s what she told me:
Collect rain water. Rain water is free of the chemicals, treatments, and chlorine we get when using tap water. Put a bucket under your downspout, build a rain barrel, or use whatever container is most accessible to you.
Dillute the orchid fertilizer slightly, by about 1/2 strength, in your rain water. (Doing this will ensure you don’t burn your orchid by mixing too intense of a batch)
Water your orchids, avoid the crown, and if they’re looking crispy… let them soak in a shallow container filled with your fertilizer mix for a few hours.
Do this every time you water and you’ll see new growth in no time.
Propagation
It is possible to propagate Phalaenopsis orchids! But it’s a process that takes patience. So if you’re really interested in trying it out, there are a few things you can do to encourage Keiki growth.
Keiki are baby plants, or offshoots, of the mother plant.
They develop off of the plant’s stem, either the flower spike or base on monopodial orchids (Phalaenopsis or Vandas), or the rhizome of sympodial orchids (Cattleyas and Oncidiums). Keikis are an exact genetic copy of the original plant that grows from a node on the stalk or cane of an orchid plant (like a clone).
One way to encourage keiki growth is to apply a small amount of cloning paste to a bloom stem node.
Here’s one I’ve used: Keiki Cloning Paste by Southside Plants – Nutrient-Rich Paste for Orchids & Houseplants
After your keiki has grown at least one 2-3in root, you can repot in a sphagnum substrate mix and cover with a ventilated humidity dome to regulate moisture levels.
Seeds
Orchid seeds are difficult to come by, expensive, and need to be grown in a highly sterile, lab-controlled environment. It’s possible to grow them, but there is a very specific symbiotic fungi required for germination. What an amazing design! Only a small percent of orchid seeds develop under these specialized circumstances.
This method is implemented by commercial growers, but is an expensive hobby to get into for a home grower. (Believe me, I’m tempted.) So if you want baby orchids, be patient, encourage keiki growth and you’ll be rewarded eventually.
Have Orchid Questions?
Email me using the form below and I’ll be happy to help out with your orchid conundrum.

Other Orchid Varieties
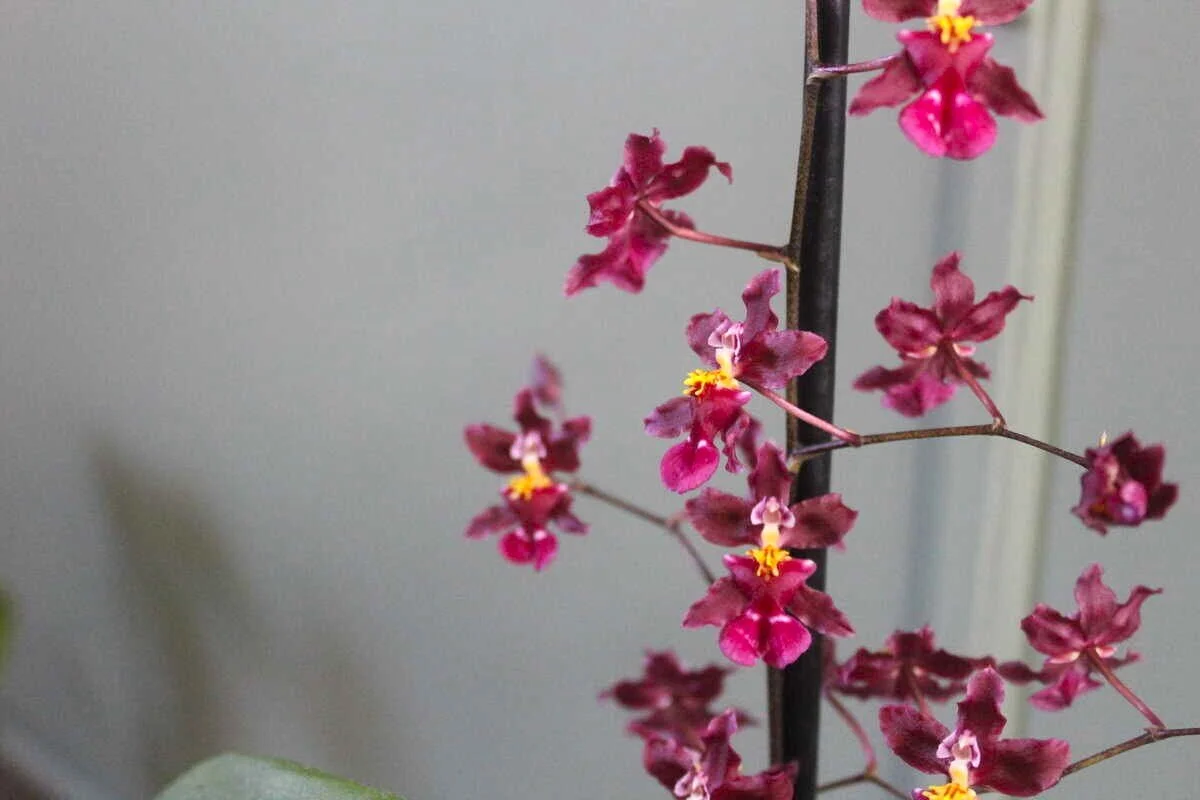


Oncidium (Dancing Lady) in Plum & Yellow; Epidendrum Radicans (Ground Orchid) in Peachy Pink.