
Tiny Envelope & Card Making Tutorial
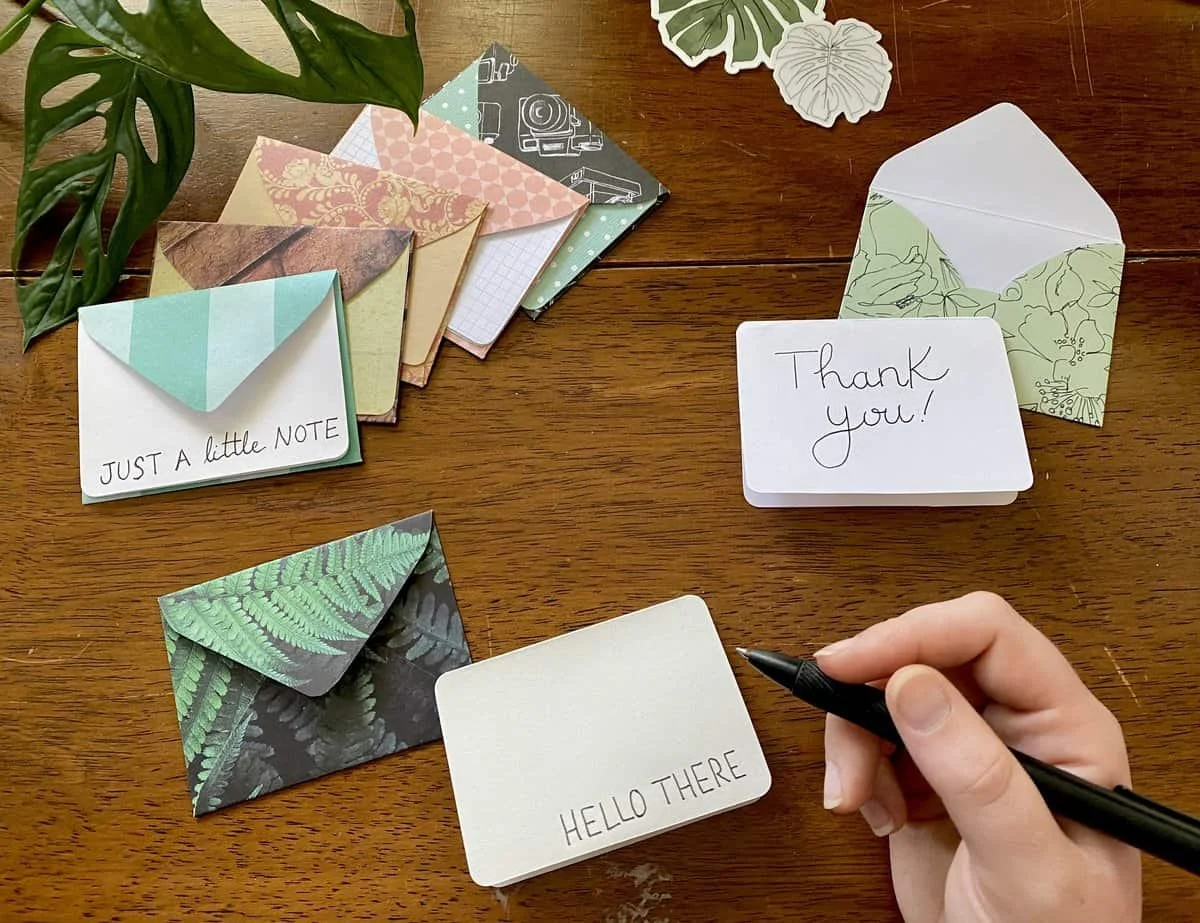
Making Mini Envelopes has been one of my favorite relaxing afternoon/evening crafts for the past few years. Something about seeing the patterned paper turn into an itty bitty, finished envelope is just so satisfying.
They’re convenient, adorable, and bring me joy. So I thought I’d share how to make them with you guys!
In this Tutorial we’ll cover:
What materials to use
Each Step of the Process
Visual Guide – Step By Step Video Tutorial
Tips
Downloadable Template
Choosing the Materials
Patterned paper for your Mini Envelope
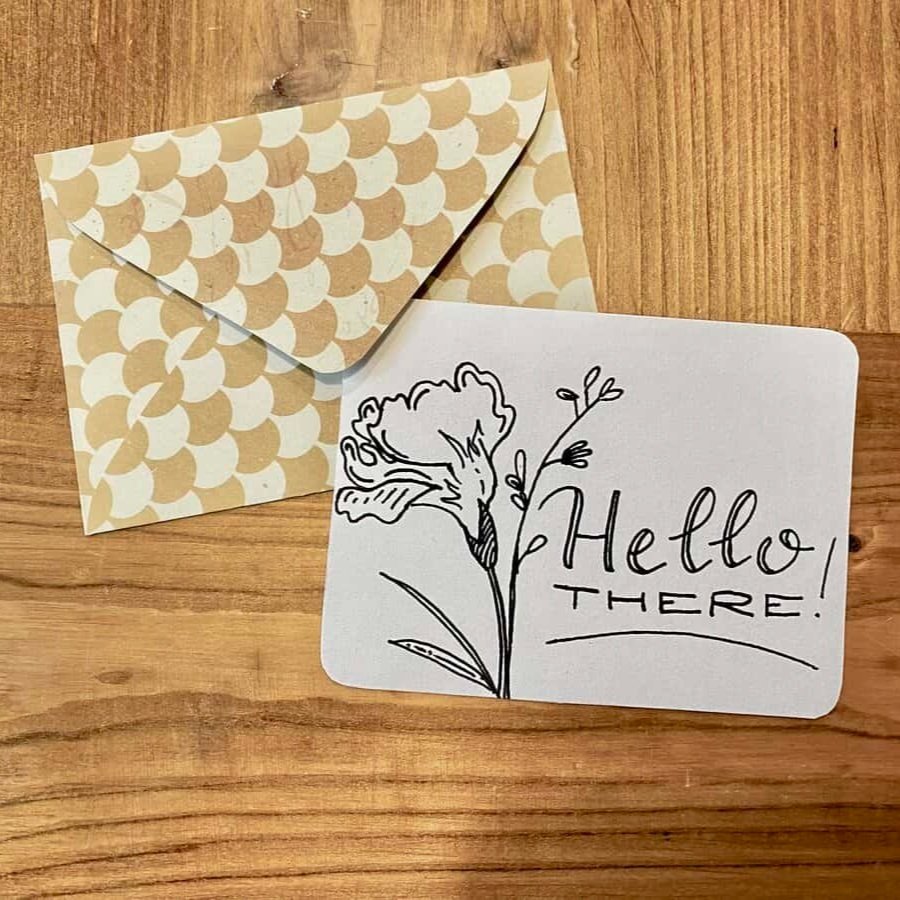
Utilizing scrapbook paper is a great way to add a personal touch. You can set your own color scheme & choose from a variety of patterns.
There are some scrapbook paper sets that are double sided, which is nice because the inside of your little envelope will be fun too.
Scrapbooking Paper 12 x 12 Inch, 24 Sheets Craft Scrapbook Paper Pad
As an Amazon Associate, I earn from qualifying purchases. I’ve included a few links to craft supplies I personally like and use, for your convenience.
Cardstock paper for your Tiny Card
I prefer to use Cardstock Paper for my Tiny Cards, because it’s thicker, more sturdy, and I don’t have to worry as much about pen marks bleeding through as I write. A medium weight Cardstock paper works great!
Here’s one I use: 50 Sheets White Dove 8.5" x 11" Cardstock Paper by Recollections
A Pencil / Pen
Scissors
Fiskars 8" Comfort Grip Non-stick Titanium All Purpose Scissors
Double-sided tape
This is the most durable double-sided craft tape we’ve found, and we’ve compared dozens. Elmer’s Craft Bond Tape Runner
Washi Tape (optional)
Assorted 14 Rolls of 15 mm Wide Decorative Grid Tapes for Scrapbooking, DIY Arts and Crafts
Corner Punch for cute rounded corners on your cards (optional)
The Steps
Prepare a template you can use to trace the envelope pattern onto your decorative paper.
Line up your template on one edge of your decorative paper. This makes better use of your materials (you may be able to make tags or other DIY projects with your extra paper), and reduces the amount of straight edges you’ll have to cut.
Fold along seam lines.
Following the bottom edge of the envelope, run two small strips of double-sided tape where the sides will meet when making your final fold (if you add too much, your card will get stuck inside the envelope).
Have fun decorating your Tiny Card! Try your “hand” at calligraphy, doodle, or just write a cheerful sentiment. There are SO MANY ways to embellish these little cards.
When you’re ready, you can close off your happy mail with washi tape, clear multipurpose tape, or even a wax seal. It’s totally up to you.
I hope this mini art project brings you lots of joy!
I’d love to see how yours turns out! Feel free to send me a DM on Instagram.
For a quick rundown of the steps, Watch the Video Tutorial:
Practical Tips:
If you use pencil, you can easily erase any residual marks.
Hold your pencil/pen upright when tracing, as this will create a more exact outline. (Otherwise your straight lines may begin go bubble letter style)
Fun Idea: You can draw or stamp the inside of the envelope before you glue it together so you have a pattern inside
Downloadable Template

Use this template to create your own tiny stationary!
Utilizing scrapbook paper is a great way to add a personal touch. You can set your own color scheme & choose from a variety of patterns.
Your PDF will include:
Tiny Card Template
Mini Envelope Template
Getting Started Step By Step Instructions