
Monstera Potting Tutorial
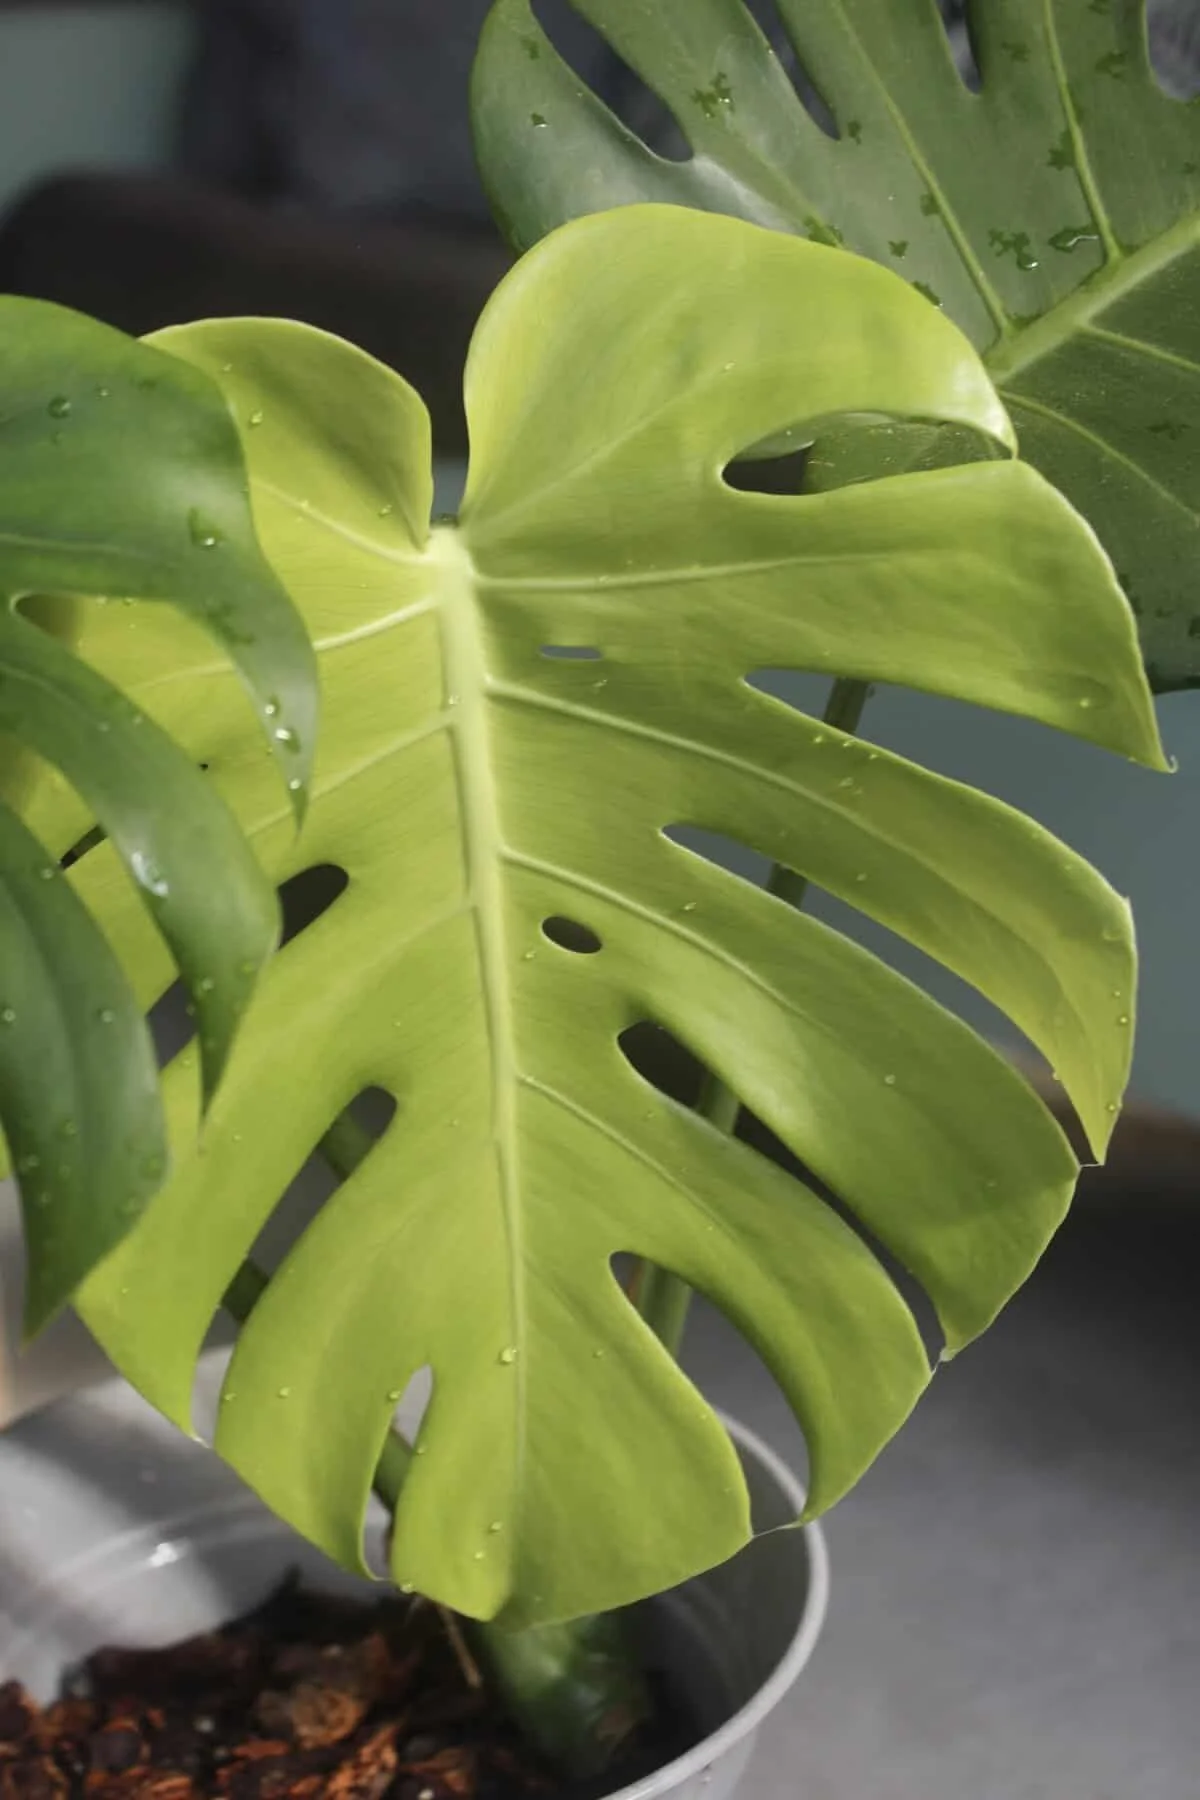
Have a Monstera that’s absolutely taking over its current container? That’s fantastic! Whether it’s a new plant baby, or a long time member of your collection, sooner or later we all need to give our plants an upgrade.
In this post, I’ll be sharing tips on repotting Monsteras so you can feel confident while giving your plant the growing room it deserves. We’ll look at:
When to Repot
Choosing the Perfect Plant Pot
Choose the Right Potting Soil
Repotting your Monstera (Step by Step)
Follow Up Care
When to Repot
Waiting until your plant has an established root ball is going to really help the transition. It’s not required, as Monsteras are very resilient, but it will give your plant a good head start in its new home.
I usually look for signs of roots attempting to poke out from the drainage holes of my inner lining pot.
If you see signs of root rot from overwatering, or you’re adding a new plant to your indoor jungle, I recommend repotting right away. In cases of root rot, every day that your plant is sitting in poor conditions, the lower the chances of saving healthy roots. When introducing a new plant to your home, repotting with fresh soil reduces the chances of bringing in pests, or cross contaminating the healthy ones you already have. I always give new plants a thorough wipe down and a partial quarantine until I’ve repotted (keeping it a couple feet from my other plant babies).
Choosing a Plant Pot
Plants often come in plastic cover pots that… do not match everyone’s style. I’ve seen some strange colors lol. If you have a plant with a funky plastic container and want to switch it up, or you’re just looking to try something new, why not try making your own cover pot?

I love using thrifted antiques, old buckets I’ve gathered from the garage, and even clearance finds. It can be so easy to DIY your own cute pots/humidity trays with a little bit of creativity!
Choose the correct pot size. If you go more than 1-2 inches larger than your current pot, you’ll actually stunt leaf growth because the plant will focus all its energy into putting out more roots.

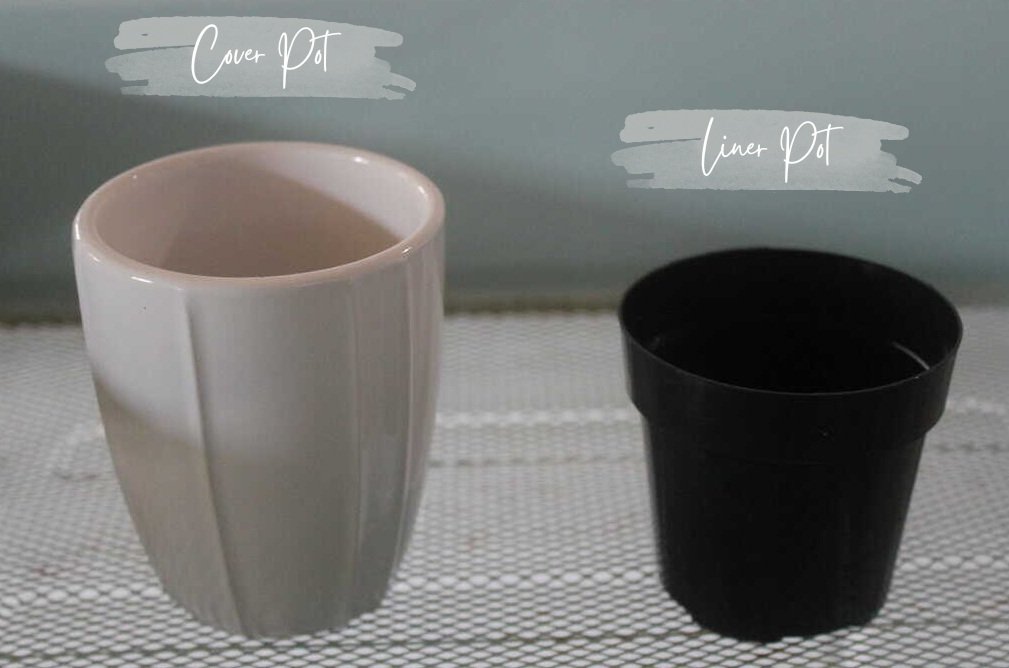
I like to keep my nursery pots and reuse them to line prettier pots that I can interchange easily. This makes watering the plants thoroughly easier, because I can pull them out and let them drain. Stagnant water at the bottom of a pot with no drainage is a leading cause of root rot in most houseplants. I know it’s tempting, but don’t use pots without drainage unless you’re going to use a liner!
Whatever container you choose, be sure to wash it out with some dish soap and wipe it down with a little bit of rubbing alcohol to disinfect it.
Choose the Right Potting Soil
For monstera, be sure to use a well-draining mix. Try making your own Monstera specific soil amendment.
Repotting Your Monstera
(I Know It’s Scary)
Imagining my beautiful monstera getting mangled in the process of repotting has definitely held me back at times from beginning the task, but seeing the job complete is worth it! Seeing it happily putting out new growth in its new pot is so satisfying. How about we get started?
Removing your Monstera from its old Pot
It may be helpful to soak the plant beforehand to soften the soil and decrease chances of the roots breaking in the transfer. Carefully press on the sides of the nursery pot to help loosen the edges. Monsteras are a climbing/vining plant, so their roots attach firmly to inside of the pot (as well as any walls if you leave arial roots undisturbed for too long) lol. So you may need to go along the inside edge with a small spade to pry them off the pot. Be careful, but don’t worry if a little piece just won’t budge. Focus on keeping the main root ball intact.
Removing Old Soil
Pull off excess soil that is not completely tangled in the roots.
Gently turn the plant while running water through the roots to loosen and remove soil (I use a garden hose).
Disinfect scissors with rubbing alcohol (to avoid transferring fungal spores or diseases) and snip off any mushy, dry or otherwise infected looking roots.
Place the plant in a 5 Gal bucket of clean water. For every 2 gallons of water, add about 1/2 cup of hydrogen peroxide 3%.
How does the Hydrogen Peroxide Help?
Hydrogen peroxide (H202) serves as a disinfectant. H202 is basically water (H2O) with one extra oxygen atom. When it comes into contact with bacteria, it releases the extra oxygen molecule. After the process of oxidation (which can complete itself within 30 minutes to an hour, depending on the concentration), it turns back into water and no longer affects your plant.
Doing this helps treat the open cuts in the root ball, and helps prevent further spread of any rot related issues in the healthy roots. If the roots are really bad, consider a stronger Fungicide. I was always afraid to use one, but it really made the difference for me when it comes to intense root rot cases. It also helps greatly with decreasing the amount of fungus gnats I see in the house by removing their food source. If you do decide to go that route, always be sure to read all instructions and follow recommended safety guidelines detailed by the product manufacturer.
After you’ve cleaned and treated your beautiful plant’s roots, you do not want to re-use the old soil. Not even a little bit of it. You don’t want to undo all the hard work you put into disinfecting your plant’s roots and container, just to put contaminated soil back in.
Adding Soil
You’ll want to gather your:
New Pot (with drainage)
Cover Pot (optional)
Monstera Blend Soil Mixture
Support Stake or Moss Pole
Water
Damp microfiber cloth for wiping down leaves
Put a little soil in the bottom of the new pot.
Carefully rest the monstera in the pot, holding on to it with one hand. Scoop a little soil evenly into the sides, pushing it down around the roots.
Continue filling your pot, if possible avoid covering joints where the leaf and stem meet, as this may encourage rot.
Give your Monstera a good drink to settle the soil, and rinse off the leaves with a gentle shower setting.
Carefully wipe down the underside and top of each leaf with the microfiber cloth, checking for signs of pests while drying them off.
Now’s the fun part! Find a pretty spot in front of the window for you newly potted monstera!
Follow Up Care
Remember that your plant will need time to adjust. It’s been through a lot, and it will need to spend some time regrowing a strong root system after being put through so much turmoil. But long term, repotting will lead to a healthier, happier plant. It gives an opportunity to check up on root health, provide fresh soil, and gives room to grow. When getting a new plant, it’s an absolute must to prevent pests or plant diseases from spreading to the rest of your indoor garden.
During the next month or so, try not to move the plant around, it will depend on consistent light. Give it thorough waterings and avoid letting the soil dry out completely. (Consider using the bottom watering method for a while)

Keep it consistent and, with a little bit of time, you’ll be rewarded with some beautiful new leaves. [See my full Monstera Plant Care Profile] for tips on fertilizing and more!

Don’t think watering plants is your thing?Try keeping them in water full time! See My [Monstera Water Propagation Tutorial]