
How to Propagate Monsteras in Soil
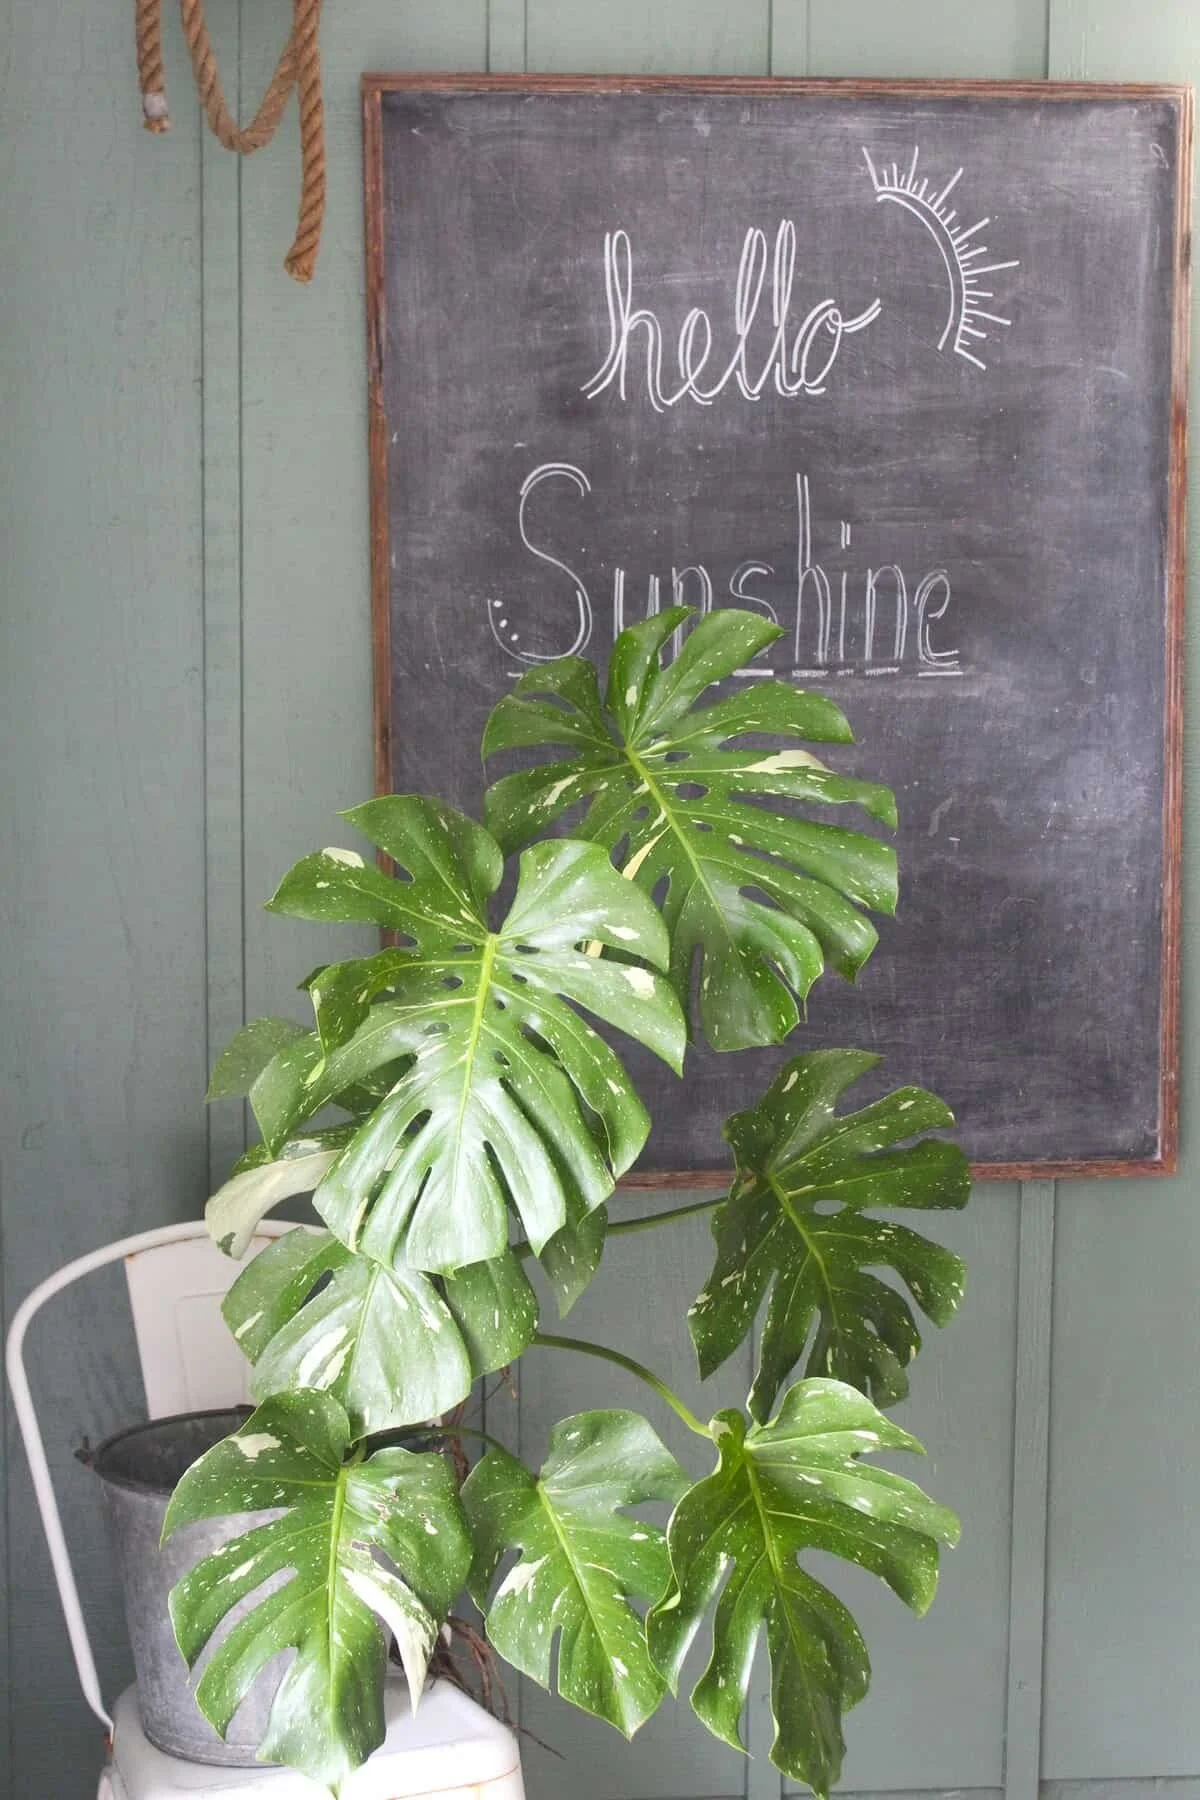
Enjoying your Monstera, but it’s trying to grab the ceiling fan? Making cuttings and adding them back to the original pot will make for a less leggy, more full display.
In this post, we’ll look at:
How to Take a Healthy Cutting
Propagating Monsteras Directly in Soil
How to Take a Healthy Cutting
One of the biggest factors in a successful propagation is the quality of the cutting.
First, you’ll want to gather:
A sharp blade or pruning knife
Rubbing Alcohol
A Container to hold the cuttings for an hour or two
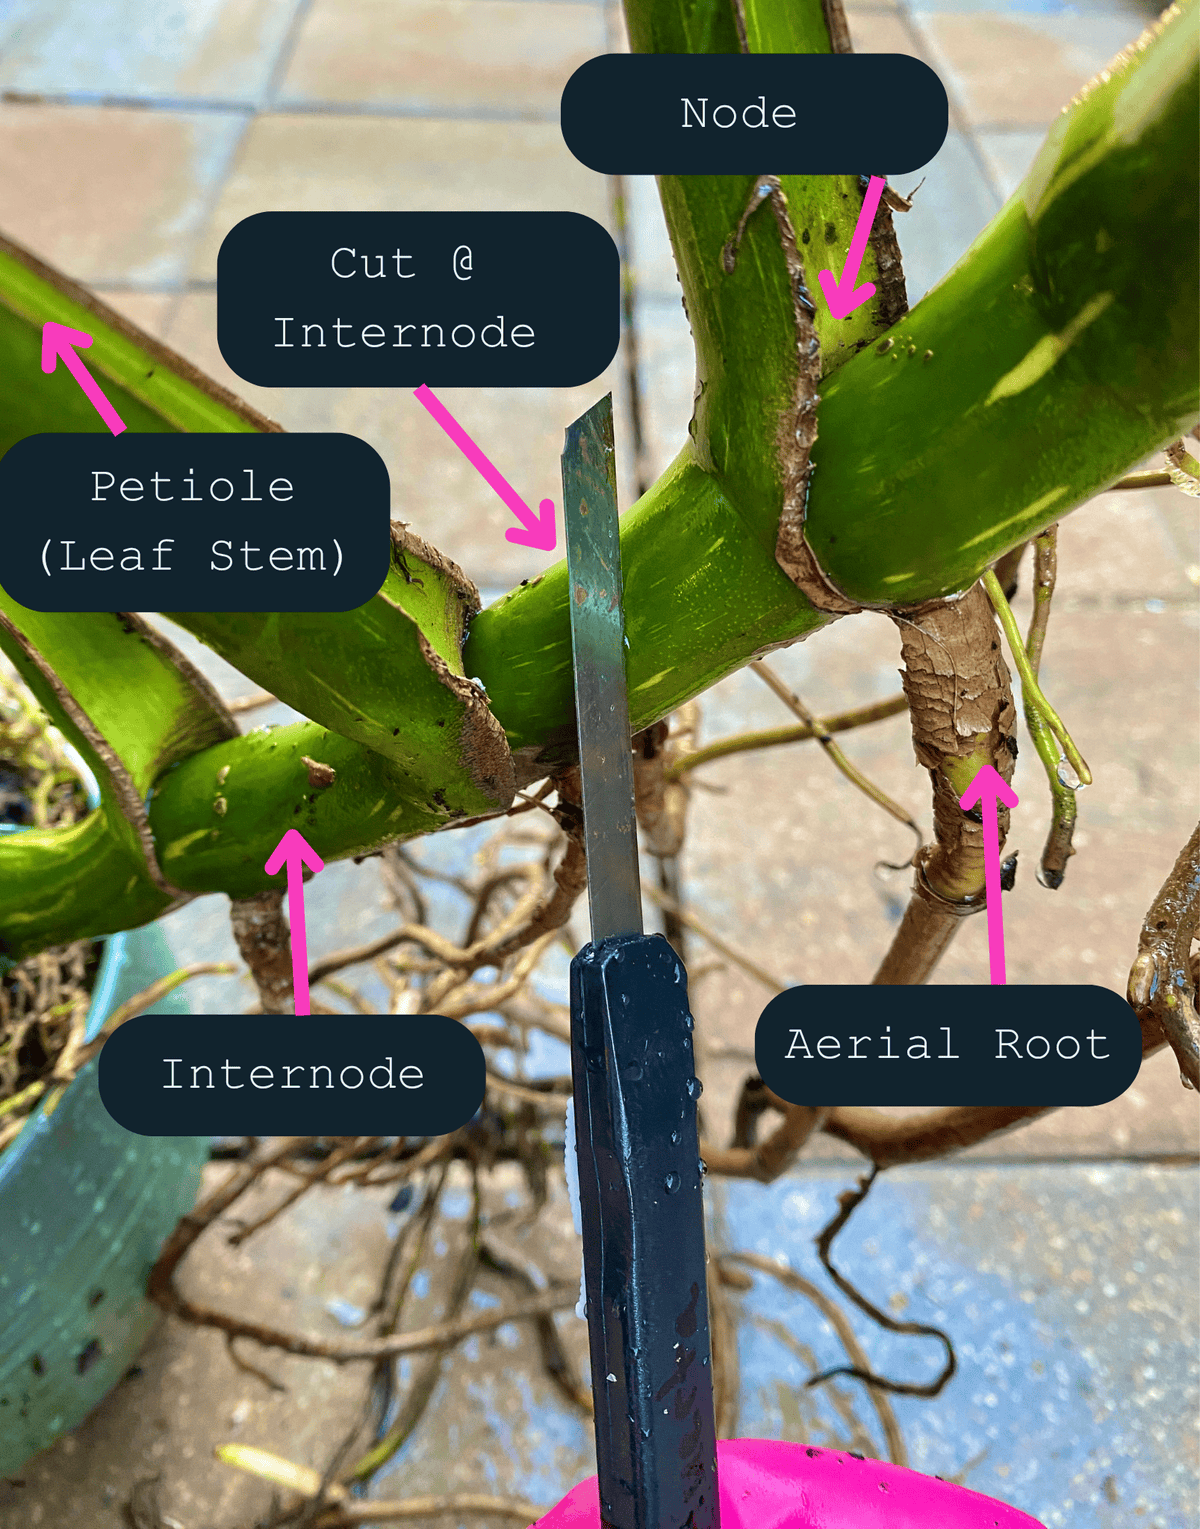
Identify the nodes.
Top cuttings are often the most sought after when purchasing variegated varieties, and include the top node of the plant, as well as at least one leaf and the crown.
Mid cuttings are any node and leaf pairs that are taken along the stem after the top cutting, and before the bottom cutting.
Bottom cuttings are typically the fastest leaf producing, because they have the benefit of an established root system.
1. Once you decide what type of cutting you want to make, confirm that the section has at least one arial root (you want to include it).
Monsteras are in the Philodendron family, making them a toxic plant, so be sure to wear vinyl or latex gloves when cutting and handling cut portions of the plant. Avoid contact with skin, and wash thoroughly with cool water after you are finished.
2. Disinfect your blade and make a smooth cut straight through the internode you’ve chosen. Using a new blade on a utility knife helps to avoid making multiple lacerations in the same cut (which causes weak points for bacteria to enter).
3. Place your cutting in a clean container and allow the exposed end to dry at least an hour, or until it callouses over. This will be an extra protection against stem rot when it’s added to the soil.
Propagating Monsteras Directly in Soil
Choose the Correct Pot
Look for a pot that doesn’t leave too much room. Especially for newly propagated plants, a large pot is not necessary.
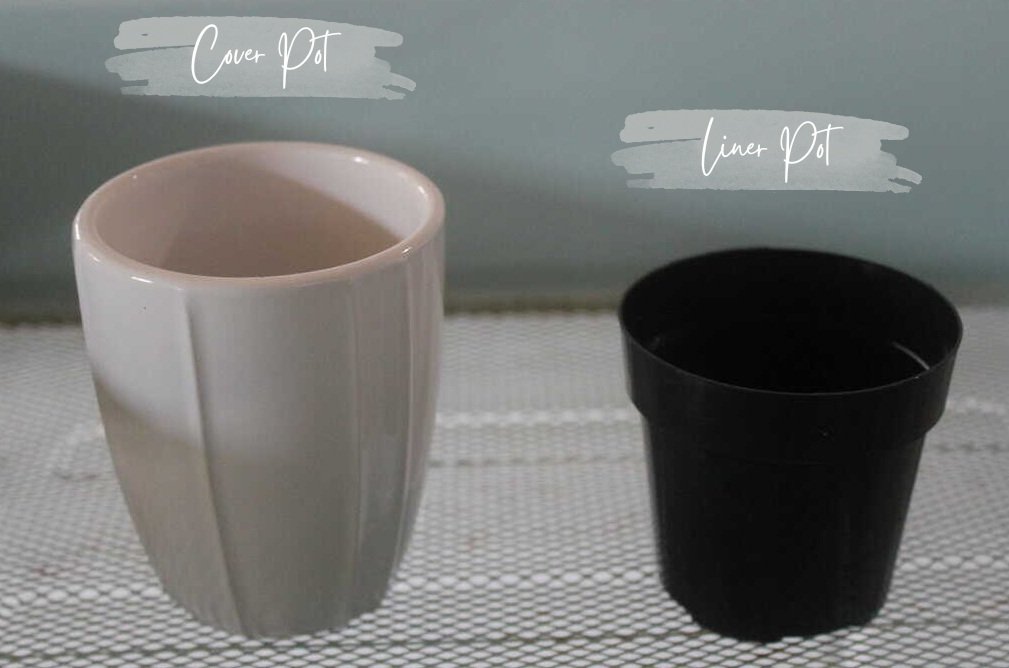
I like to plant directly into nursery pots and place them into decorative cover pots.
Monsteras need stability for their large leaves, so choose a cover pot heavy enough to counterbalance this top heavy plant. Be sure to choose something with lots of drainage! Stagnant water at the bottom of a pot with no drainage hole is a leading cause of root rot in most houseplants.
Start with a scoop of [Airy Monstera Blend Potting Soil] in the bottom of your pot.
Place your cutting in the pot, and fill soil around it. Try not to cover the crown of the plant.
For support, you can place a stake or pole behind the plant. Loosely tie the stem to the pole using scraps of twine or a plant clip.
Give your baby Monstera a good drink to settle the soil, and rinse off the leaves gently.
Carefully wipe down the underside and top of each leaf with the microfiber cloth, checking for signs of pests while drying them off.
Now’s the fun part! Find a pretty spot in front of the window for you newly potted monstera!
During the next month or so, try not to move the plant around, because it’s still developing those roots. It will also depend on consistent light. Give it thorough waterings and avoid letting the soil dry out completely. (Consider using the bottom watering method for a while) Keep it consistent and, with a little bit of time, you’ll be rewarded with some beautiful new leaves. [See my full Monstera Plant Care Profile] for tips on fertilizing and more!